How to Print Ultra-Light Drone Parts: PPpro Slicer Settings and Design Guide
Even with the right material, bad slicer settings produce parts that are either heavy as iron or snap at the slightest knock.
When printing drone and RC parts with PPpro, the core goal is:push the weight down to the limit while keeping strength.
1. How to Tune the Settings?
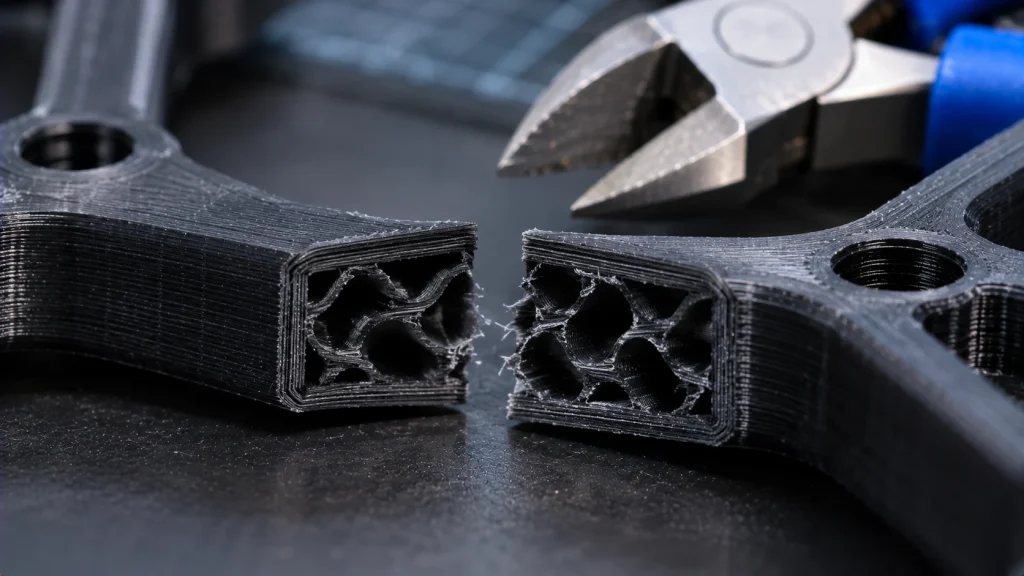
- Wall count (Walls): set it to 3 walls. The main loads on a drone part land on the shell, and 3 outer walls provide enough tensile strength.
- Infill: set it to 10% – 15%, using “Gyroid” as the infill pattern. It handles loads evenly in every direction and uses very little material.
- Top/bottom thickness (Top/Bottom Layers): 4 layers is enough; going thicker only adds dead weight.
- Temperature: PP needs strong interlayer bonding, so we recommend a nozzle temperature of 210-220℃ to make sure the layers fuse tightly.
2. How to Design the Structure?
The beauty of 3D printing is that you can work magic inside the model.
- Hollow out the “solid”: not every region needs to be thick. For lightly loaded areas, hollow them out directly in your modeling software or design an openwork lattice.
- Ribs beat thick walls: if a bracket needs to be very stiff, do not just thicken the walls to 5 mm. A few 1.5 mm ribs multiply the stiffness several times over at a fraction of the weight.
- Print as one piece: PPpro is tough enough to merge several screw-attached parts into a single printed piece using living hinges or snap-fit designs, saving the weight of the hardware.
3. Things to Watch During Printing
PP tends to shrink during printing, so bed adhesion must be well controlled. PPpro prints on a room-temperature bed with no enclosure, but if there is a draft indoors, shield the printer to keep the ambient temperature stable and prevent large frames from warping due to uneven cooling.
Summary
Extreme weight savings come not from blindly cutting infill but from sound structure and settings working together. Print the outer walls dense, fill the inside with sparse Gyroid, and make good use of ribs and integrated hinges. Dial in these details and PPpro will give you drone parts that are both crash-proof and feather-light.
Related Reading
- Less Weight, More Flight Time: Why PP Is the First Choice for 3D-Printed Drone Parts
- Slicer Settings for Floating Parts: Wall Thickness and Sealing Guide
- Why Your PP Prints Fail Chemical Resistance: 3 Pitfalls to Avoid
- What Is PPpro? A Modified PP 3D Printing Filament That Needs No Heated Bed and Makes Living Hinges