Slicer Settings for Floating Parts: Wall Thickness and Sealing Guide
The material floats and the model is fine, so why does the printed part still slowly sink once it goes into the water?
The slicer settings are most likely to blame. FDM builds layer by layer, and if the outer wall is not dense enough, water works through invisible interlayer gaps into the interior. For floating parts, the core requirement is “absolute shell sealing”.
1. Make the Top/Bottom Layers Thick Enough
How to avoid it: the default slicer preset is usually only 3-4 top/bottom layers, far too thin for waterproofing.
Recommended setting: set the top and bottom thickness to at least 1.2 mm (with a 0.2 mm layer height, that is 6 layers or more). This keeps the surface fully dense and eliminates the risk of pinhole leaks.
2. Increase Wall (Perimeter) Count
Recommended setting: set wall loops to 3 or more walls, which greatly improves sidewall sealing and impact strength.
3. Choosing the Infill Pattern (Critical)
How to avoid it: with common infill patterns like Grid or Cubic, one tiny crack in the shell lets water flood the entire interior.
For solid parts: use Concentric infill or dense line infill.
For hollow parts: pair it with 0% infill, or simply use Spiralize (vase) mode so the shell prints as one continuous thin wall, cutting off every path for water to get inside.
4. Watch the Cooling
If your material (some modified PP, for example) is cooling-sensitive, make sure cooling is even. Uneven cooling weakens layer bonding, widens the interlayer gaps, and lets water seep along the layer lines.
Summary:
How to verify your settings?
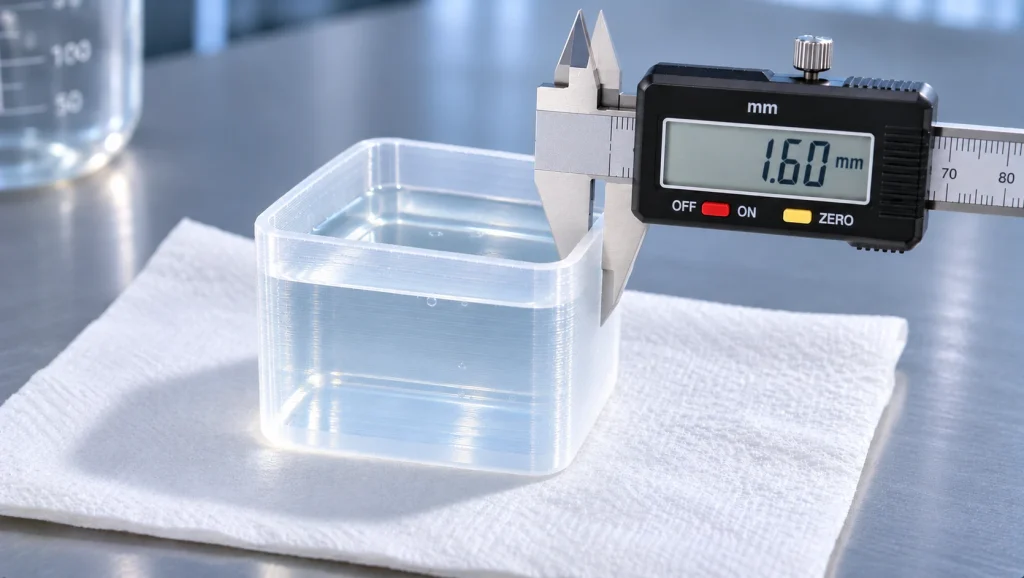
Do not start with a big part. Spend 10 minutes printing a solid 20x20x20 mm cube. Soak it in water for 24 hours, dry the surface and weigh it. If the weight has not changed at all, your settings are perfectly watertight; if it gained weight, go back and thicken the top/bottom and walls.
•Floating Parts: Solid or Hollow? A Buoyancy and Lightweight Design Guide
•How to Design PP Parts for 3D Printing? Wall Thickness, Fillets, Snap Fits and Warp Prevention