How should you choose between 3D printing for prototyping, mold making, and small-batch production?
Choosing between 3D printing and injection molding mainly comes down to three things: production volume, whether the design is finalized, and what validation stage the product is currently at.
When the design is still being adjusted, needs repeated validation, or order quantities are limited, 3D printing is usually more flexible. Once the design is frozen, demand is stable, and production volume is enough to amortize the tooling investment, injection molding may have the cost advantage.
The two approaches are not either/or. Many projects first use 3D printing to complete structural and functional validation, then decide whether to tool up based on actual needs. This keeps design flexibility intact and reduces the risk of costly changes after the tooling investment.
The Essential Difference Between the Two Manufacturing Methods
3D printing builds parts by depositing material layer by layer and usually needs no dedicated mold. Per-part cost mainly includes material, machine runtime, and post-processing. To modify the design, you generally just adjust the model file and reprint.
Injection molding requires a mold first. Upfront investment is high, but once the mold is made, per-part molding cost usually becomes more advantageous as volume increases. Injection-molded parts also have their own strengths in surface quality, material choice, and mass-production efficiencyâthe specifics depend on mold design, material, and process conditions.
The main differences between the two methods can be summarized as follows:
| Comparison item | 3D printing | Injection molding |
|---|---|---|
| Upfront investment | Usually lower; no dedicated mold needed | Mold development cost must be borne |
| Design changes | Reprint after modifying the model | May require modifying or even remaking the mold |
| Per-part cost | Usually does not drop sharply with higher volume | Per-part cost may be lower after tooling is amortized |
| Production efficiency | Suited to rapid prototyping and small-batch parts | Suited to stable, repetitive mass production |
| Appearance and surface | May retain layer lines; post-processing may be needed | Can achieve surface finishes suited to injection molding |
| Suitable stage | Design validation, functional testing, small-batch trial production | Design freeze, stable mass production |
So the real basis for judgment is not just part quantity, but also design stability, expected total demand, delivery time, and product quality requirements.
Which Stages Suit 3D Printing for Prototyping?
1. Concept validation stage
The product’s structure, form, and assembly method may still change; 3D printing can quickly produce different versions of prototypes.
Through actual assembly and observation, you can catch issues like dimensional interference, unreasonable structure, or awkward handling earlyâavoiding sinking mold costs before the design is stable.
2. Functional testing stage
To verify snap fits, assembly clearance, repeated opening/closing, chemical resistance, or heat performance, you can first print prototypes and check whether the design meets expectations.
Test results help improve structure and process. However, FDM-printed and injection-molded parts may differ in interlayer bonding, internal structure, and mechanical behavior. Printed prototypes are suitable for preliminary validation; the final performance of injection-molded products must still be confirmed against the actual material and manufacturing process.
3. Small-batch in-house use or trial sales
When quantities are limited, or the project is still in market-validation, printing directly may be more appropriate than tooling up early.
This reduces tooling investment and makes it easy to adjust the product based on customer feedback. Whether direct delivery is suitable depends on the customer’s requirements for appearance, dimensional accuracy, surface quality, and performance.
4. Appearance and assembly review
To compare multiple design options at once, you can print prototypes separately for appearance review, dimensional confirmation, and assembly testing.
Compared with tooling up for every option, 3D printing usually supports multiple revision rounds more easilyâespecially for projects whose design is not yet frozen.
When Should You Consider Injection Molding?
When the product design is frozen, demand is relatively stable, and there are clear requirements for surface quality or production cadence, you can begin evaluating the economics of tooling.
The most direct method is to calculate the per-part cost after amortizing tooling cost:
Tooling-route per-part cost = Tooling investment ÷ Expected total volume + Per-part molding cost
For the evaluation, use a reasonable total volume over the product’s lifecycle, not just the first batch order quantity. If future demand is uncertain and the expected total volume is overestimated, you may underestimate the actual tooling amortization cost.
You must also consider these factors at the same time:
- Time required for mold development and first-article validation.
- Cost of modifying the mold after design changes.
- Product inventory and demand-forecast risk.
- Injection material, molding process, and surface-effect requirements.
- Possible performance differences between 3D-printed and injection-molded products.
Tooling cost can be diluted across a reasonable production volume, and the product design is unlikely to change frequentlyâonly then does tooling have a better chance to show economic advantage.
A Middle Path: Print to Validate First, Then Tool Up for Production
For many product projects, the safer approach is not to make a final choice between the two processes upfront, but to advance in stages.
Stage 1: Print prototypes to validate the design.
Use printed parts to check form, structure, dimensions, and assembly, and resolve design issues as much as possible before investing in tooling.
Stage 2: Small-batch trial production to validate real demand.
When demand allows, use printed parts for trial use or small-batch delivery, and collect assembly, usage, and customer feedback. At this stage you must clarify the differences in material and performance between printed parts and final injection-molded parts.
Stage 3: After design freeze, evaluate and implement tooling.
Once design, demand, and production requirements become clear, recalculate tooling amortization cost to decide whether to move to injection production. Printed prototypes can also serve as a reference for form and assembly review, but they cannot directly replace the final dimensional acceptance criteria for injection-molded parts.
This staged approach shifts part of the risk earlier to the lower-cost design-validation stage, reducing mold loss caused by frequent design changes.
Summary: Choose the Manufacturing Method Based on Design Stage and Volume
Both 3D-printed prototyping and injection molding have their suitable scenarios; the key is to match the manufacturing method to the project stage.
- When the design is not yet finalized and needs repeated validation, prioritize 3D printing.
- During small-batch trial production or market validation, you can evaluate the feasibility of direct print delivery.
- Only when the design is frozen, demand is stable, and tooling investment can be reasonably amortized should you consider tooling.
- When comparing per-part cost, consider tooling investment, design changes, delivery cycle, and production risk together.
- For projects transitioning from printing to injection molding, confirm that parts made by each process meet their respective performance and acceptance requirements.
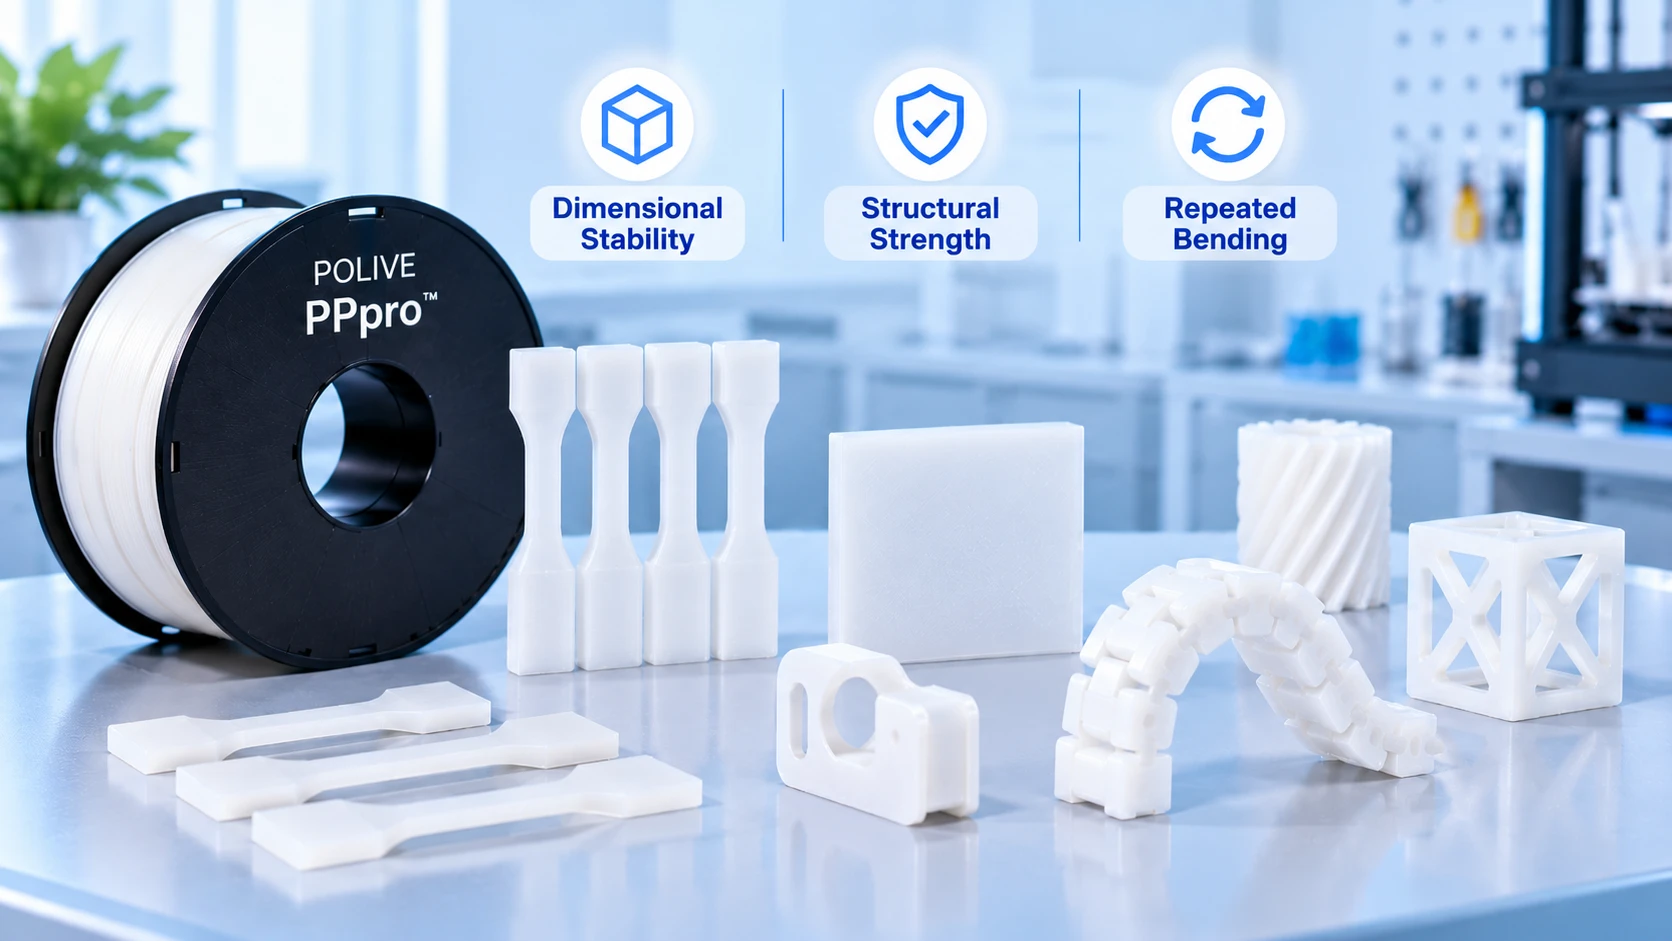
During the design-validation stage, using POLIVE PPpro⢠to print PP functional parts can help the project check structural, assembly, and real-world usage issues. Whether to enter the tooling stage should be judged comprehensively based on design maturity, expected demand, and final manufacturing requirements.
Related Reading
- Can 3D Printing Handle Small-Batch Production? How to Ensure Consistent Printed Parts
- Can 3D printing be used to produce automotive parts? Applications of PP (polypropylene) in the automotive sector
- How to Design PP Parts for 3D Printing? Wall Thickness, Fillets, Snap Fits and Warp Prevention
- Is PP 3D Printing Filament Expensive? How to Calculate Material Cost
打样和开模怎么选?
主要看三件事:数量、设计是否定型、你要验证的价值。设计还在改、数量小时用 3D 打印;设计冻结、量大时开模更划算。
哪些阶段最适合 3D 打印?
外形与装配验证、卡扣手感、多版快速迭代、小批量定制件。这时候改模型比改模具便宜太多。
什么时候该考虑开模?
设计冻结、单件成本被打印工时压住、需要注塑级一致性和表面、数量上到模具摊销合理时。
中间路线怎么走?
先打印验证结构和手感,把尺寸与装配问题在打样阶段解决掉,再开模。用 PP 做原型还有个好处:材料跟量产 PP 同源,验证结果更接近最终件。